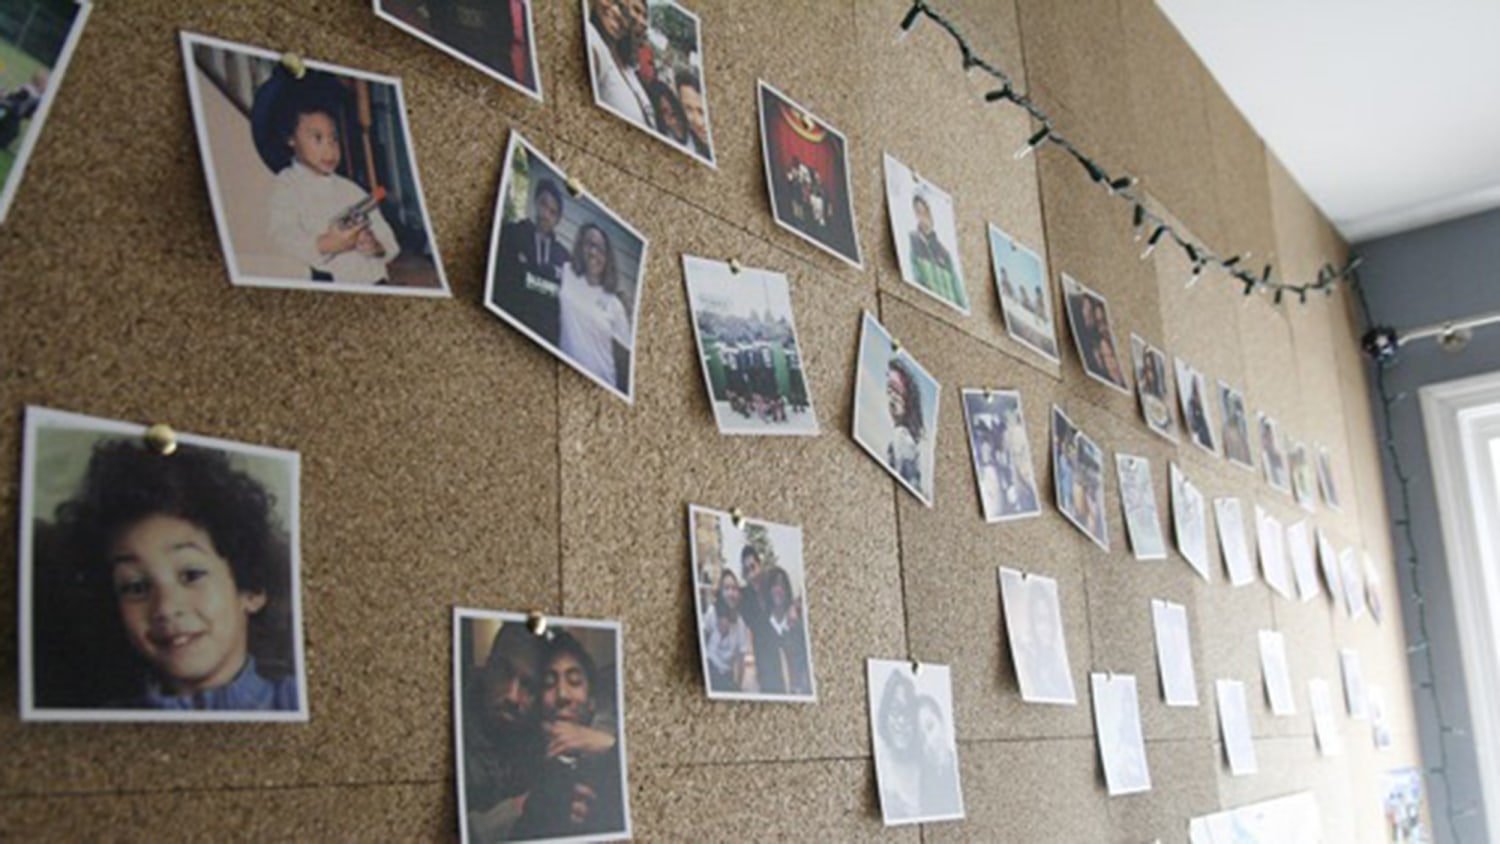
I set up this corkboard wall in just a few hours, and I’m thrilled to share the tutorial with you! The toughest part was my concern about its adhesion to the wall (spoiler alert—it worked perfectly!). Now, let’s explore how it all started.
This wall had shelves for years, but they ceased to serve any purpose for me. I absolutely adore travel, so I wanted to showcase the many treasures I’ve gathered over time. Thus, the corkboard made its grand entrance.
Given that a strong adhesive is essential for the cork roll, I was hesitant to apply it directly to the wall. We bought some budget-friendly plywood, sized it according to the wall dimensions, and secured it with screws. Don’t forget to make adjustments for any outlets you might have on the wall!
This is where my husband bowed out, and I took over. The corkboard installation was entirely my responsibility. It was essentially a solo task, except for the initial setup where I needed another set of hands to get it lined up correctly, and then I was off and running. Once you start laying down the cork on the roll, there’s no room for mistakes. So, make sure to start in a corner and work your way down the wall.
I applied the adhesive on the wall using a notch trowel and then smoothed the cork over it with a rolling pin. I was anxious about having bubbles, but the adhesive was fantastic! No bubbles at all.
At the wall’s edge, I carefully used a sharp utility knife to cut along the edge of the wall. It was so sharp that it sliced right through the cork and into my thumb! Thankfully, a quick visit to the emergency clinic resolved that!
To finish the project, I painted a piece of trim to match the wall and used a small amount of wood glue to attach it. Since the cork is thin enough, I just butted it up against the crown molding and baseboards. No one would ever realize it isn’t trimmed on the top and bottom, which saved me a lot of time!
Ready for your list of supplies? It’s brief and straightforward, but it’s crucial to have the right materials.
Corkboard Supply List
- Cork. I searched everywhere for the perfect roll. Although there are many variations, I wanted to avoid seams entirely. Therefore, I spent a bit more. I found cork rolls at Bangor Cork, which had the best prices and a wide range of selections! I bought a roll and had it cut to 8 feet, matching the height of my ceilings. Honestly, that extra expense was worth it because it looks seamless!
- Notch trowel. Nothing specific is necessary—just something with teeth to spread the adhesive on the wall and provide a surface for the cork to adhere to.
- Flooring adhesive. This was the standout product. It was forgiving enough to allow some adjustments, but once it set, it was rock solid! I appreciated that since I was quite anxious about how this would turn out. Hooray for success! 😉
- Utility knife. If you’re contemplating severing your thumb, this utility knife might be your tool of choice! Joking—kind of—but this knife is extremely sharp. It did exactly what I needed!
- Rolling pin. My trusty rolling pin was another essential; it made smoothing the cork a breeze.
After all those not-so-great iPhone pictures, here’s a better shot to remind you of the completed corkboard wall.
I truly love how it turned out, and I hope my instructions were clear! If you’d like to see more of the finished corkboard wall, click here!
<!–
–>


