The title of this post is brought to you by a retired blogger. Lol? I apologize. I took a break from writing, but now I’m back with what I believe is a solid tutorial for you! Who doesn’t enjoy a bit of outdoor lighting, am I right?
After procrastinating for years, we finally installed some outdoor lights on our deck, and it. is. fabulous. Not only that, but it’s incredibly simple and fairly affordable to do! That’s why I’ve come to share my outdoor lighting secrets with you.
Required Supplies:
- A deck—this could be a patio or a porch, or even a floor with one wall.
- String lights; I suggest going for something industrial for better durability.
- Fence posts (ours are 12 feet long, trimmed to 9 feet). I couldn’t find the exact ones online, but I linked to a shorter version of what we bought.
- Small carabiners for every point you’ll attach to the house.
- Eye hooks to drill into the wall.
- S hooks for each pole.
- A cordless drill.
- A hacksaw (if you need to shorten your fence posts).
- Zip ties (in a similar style) that match your poles.
First and foremost, decide on your lighting layout. Zigzag, square around your area? It’s totally your choice! I’m sharing some somewhat blurry images of the actual materials I used.
There are various methods for hanging the lights on the pole, but we chose to drill a small hole and insert the S hook into it. So far, it seems to be working (keep in mind there’s a lot of tension once they’re up), so I think it’s a solid approach!
After drilling holes in the poles and inserting the S hooks, we secured them to our deck railing. Since our railings are metal, we couldn’t drill into them. So, with a bit of ingenuity and hope, we opted to zip tie them to the railings using 18-inch industrial ties.
Once the ends were clipped off, you hardly notice them on the railing. Totally worth it even if they are visible! 🙂
Next, use the eye hooks to drill into your house (it sounds scarier than it truly is!).
Attach the carabiner to the eye hook, then thread the light cord through the carabiner.
I recommend positioning the hook quite high, around 9 1/2 feet. This allows enough space for the string lights to “swoop” without anyone risking a bump to their head.
Honestly, the toughest part of the entire project is determining how to arrange the lights. I only had to reposition one hook after drilling it into the wall, and I wasn’t too bothered by it. Honestly, who examines your house walls that closely anyway?
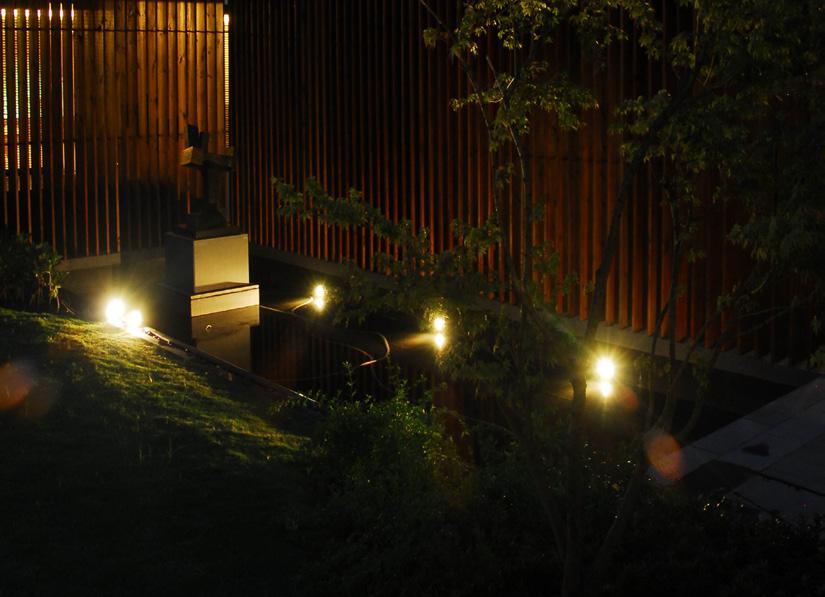
Here you can see the transition from late afternoon to evening, and ultimately night.
Va-Va-VOOM!
It’s been about 712 days since my last tutorial, so I apologize if I missed anything! You can check out a video version of this on Instagram in my stories. Wishing you the best of luck!
<!–
–>
# Guide to Installing Outdoor Lighting: A Step-by-Step Approach
Outdoor lighting enhances the attractiveness, security, and usability of your exterior spaces. Whether you aim to light up a path, accent landscaping, or improve safety, installing outdoor lighting is a feasible DIY task. This guide will take you through the steps of safely and efficiently installing outdoor lighting.
## **Step 1: Design Your Outdoor Lighting Plan**
Before buying lights or beginning installation, think about the purpose of your outdoor lighting. Common outdoor lighting types include:
– **Pathway Lights** – Illuminate walkways and driveways for safety.
– **Spotlights** – Emphasize trees, architectural features, or garden elements.
– **Floodlights** – Offer security lighting for driveways and entrances.
– **String Lights** – Set the mood for patios and outdoor seating areas.
– **Wall-Mounted Lights** – Improve visibility near doors and garages.
Sketch a rough layout of where you’d like to position the lights and determine the power source (hardwired, solar, or battery-operated).
## **Step 2: Select the Appropriate Outdoor Lighting**
Outdoor lights come in various power options:
– **Solar-Powered Lights** – Simple to set up, energy-efficient, and require no wiring. Most suitable for decorative and pathway lighting.
– **Low-Voltage Lights** – Need a transformer and wiring but are safer and more energy-efficient. Perfect for landscaping and pathway lighting.
– **Line-Voltage Lights** – Directly connected to your home’s electrical system and necessitate professional installation. Used for floodlights and security purposes.
## **Step 3: Gather Required Tools and Materials**
Depending on the lighting type chosen, you may need:
– Outdoor-rated lighting fixtures.
– Transformer (for low-voltage options).
– Low-voltage electrical cable.
– Wire strippers.
– Screwdrivers.
– Drill with masonry bits (if installing lights on walls).
– Stakes (for pathway lights).
– Shovel (for burying cables).
## **Step 4: Install Outdoor Lighting**
### **Installing Solar-Powered Lights**
1. **Select a Sunny Spot** – Position solar lights in areas where they will receive direct sunlight for a minimum of 6-8 hours daily.
2. **Assemble the Lights** – Follow the manufacturer’s instructions to put together the fixtures.
3. **Set Up the Lights** – Push the stakes into the ground along paths or garden beds.
### **Installing Low-Voltage Lighting**
1. **Set Up the Transformer** – Install the transformer near an outdoor power outlet.
2. **Lay Out the Cable** – Run the low-voltage cable along your outlined lighting path.
3. **Connect the Lights** – Attach each light fixture to the cable using the included connectors.
4. **Bury the Cable** – Dig a shallow trench (around 3 inches deep) and bury the cable for a tidy appearance.
5. **Plug in the Transformer** – Connect the transformer to the power source and check the lights.
### **Installing Hardwired Line-Voltage Lighting**
⚠️ **Caution:** If you are not comfortable working with electrical systems, hire a certified electrician.
1. **Turn Off Power** – Shut off electricity at the circuit breaker.
2. **Install Electrical Boxes** – Attach electrical boxes where the lights will be fitted.
3. **Run Electrical Wiring** – Connect the wiring from your home’s electrical system to the light fixtures.
4. **Secure the Fixtures** – Mount the lights on walls, posts, or ceilings.
5. **Restore Power and Test** – Turn the electricity back on and test the lights.
## **Step 5: Adjust and Maintain Your Outdoor Lighting**
– **Adjust Angles** – Position spotlights and floodlights to minimize glare.
– **Clean Fixtures** – Regularly clean lights to wipe away dirt and grime.
– **Change Bulbs** – Use LED bulbs for energy efficiency and longer lifespan.
– **Inspect Wiring** – Periodically check cables and connections for signs of wear or damage.
## **Conclusion**
Installing outdoor lighting is a wonderful way to boost your home’s exterior appeal, safety, and usability. Whether you opt for solar, low-voltage, or hardwired options, adhering to these steps will ensure a successful installation. With thoughtful planning and ongoing maintenance, your outdoor lighting will offer beauty and security for many years ahead.
Would you like suggestions for specific lighting brands or styles? Let us know!