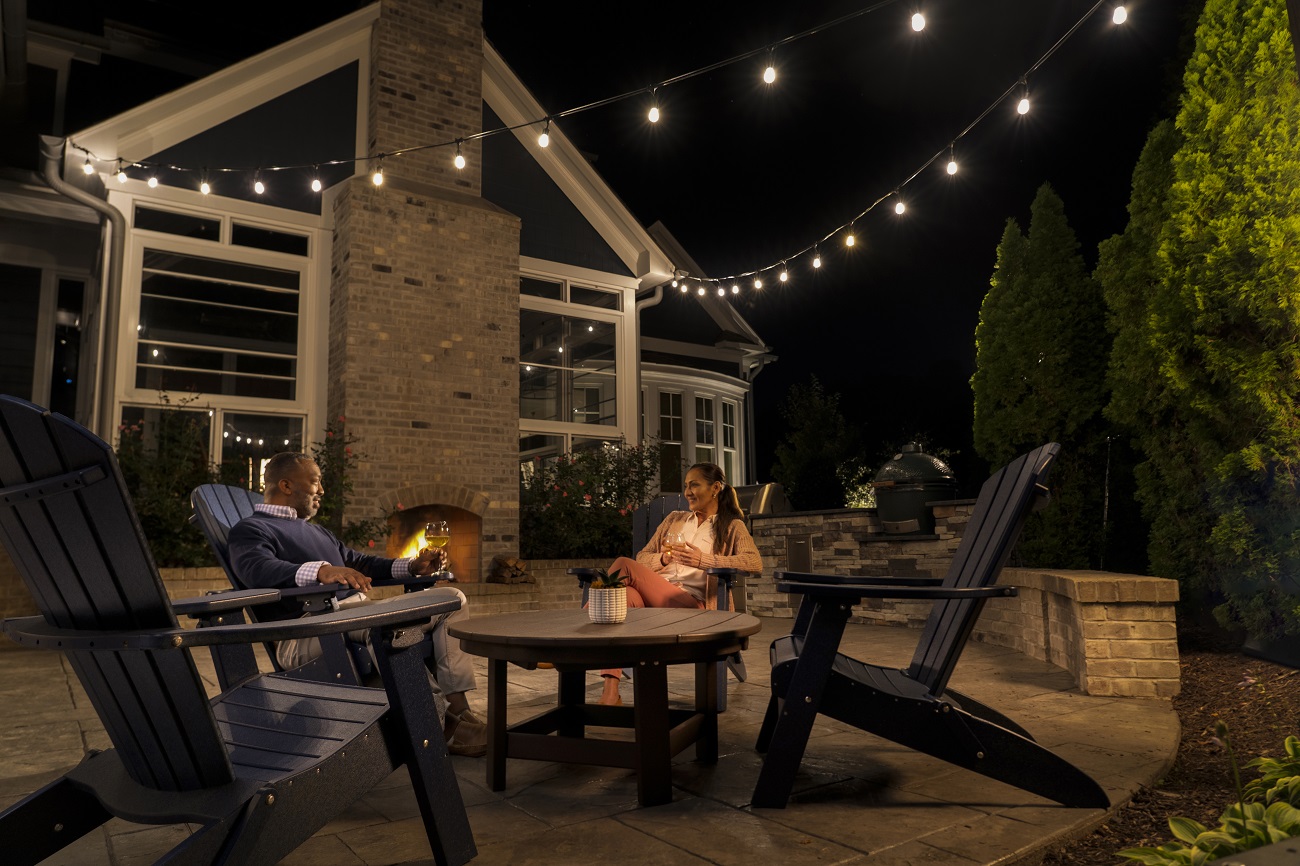
Post title courtesy of an outdated blogger. Haha? My apologies. After taking a break from blogging, I’m back with what I believe is a fantastic tutorial for you! Who doesn’t adore some outdoor illumination, right?
After procrastinating for years, we finally installed outdoor lighting on our deck, and it. is. amazing. Additionally, it’s quite simple and relatively affordable to accomplish! That’s why I’m here—to share my outdoor lighting techniques with you.
Required Materials:
- A deck. This could also be a patio or a porch? Or perhaps a floor with a single wall?
- String lights. I suggest opting for a more industrial style for better durability.
- Fence posts (ours are 12 feet, trimmed down to 9 feet) I wasn’t able to find the exact ones online, but I linked to a shorter variant of what we bought.
- Small carabiners for each point where you attach to the house
- Eye hooks for installation into the wall
- S hooks for each pole
- Cordless Drill
- Hacksaw (if you need to shorten your fence posts)
- Zip ties (similar type) to match your poles
Alright, first things first. You’ll want to determine the layout of your lights. Zig-zag, square around your area? It’s entirely up to you! I’m sharing some not-so-great photos of the actual materials I used.
There are clearly various methods for attaching the lights to the pole, but we chose to drill a small hole and insert the S Hook into it. It appears to be holding well (just a reminder, there’s a lot of tension once they’re up), so I think this method works!
Once we drilled the holes in the poles and installed the S Hooks, we secured them to our deck railing. Due to our metal railings, we weren’t able to drill into them. Again, taking a chance here—we decided to zip tie them to the railings using 18-inch heavy-duty ties.
Once we trimmed the ends off, you can barely see them on the railing. Totally worth it, even if they are somewhat visible! 🙂
Now, use the eye hooks to drill into your house (not as terrifying as it sounds!).
Attach the carabiner to the eye hook and then loop the light cord into the carabiner.
I recommend positioning the hook quite high, around 9 1/2 feet. You want a little flexibility for the string lights to “swoop” downwards, and you want to avoid anyone bumping their heads.
Truthfully, the most challenging part of this entire project is figuring out the light arrangement. I only had to adjust one hook after it was drilled into the wall, and I wasn’t too bothered by it. After all, folks shouldn’t scrutinize your home’s walls anyway!
Here you can witness the transformation from late afternoon to evening, and then to night.
Va-Va-VOOM!
It’s been approximately 712 days since I last wrote a tutorial, so forgive me if I overlooked anything! Feel free to check out the video version of this on Instagram. I’ve saved it to my stories. Best of luck!