I completed the installation of this corkboard wall in just a few hours, and I’m excited to share the tutorial with you! The most challenging aspect was the initial concern about how well it would adhere to the wall (spoiler alert—it worked perfectly!). Now, let’s revisit the start of this journey.
This wall has had shelves for many years, but they became nonfunctional for my needs. I absolutely adore traveling and wanted to showcase the multitude of mementos I’ve gathered over the years. Therefore, the corkboard took center stage.
Since a strong adhesive is necessary for the cork roll, I was hesitant to attach it directly to the wall. We bought some cost-effective plywood, cut it to fit the wall, and secured it with screws. Remember to create openings for any outlets present on the wall as well!
This is when my husband stepped away, and I took over. The corkboard installation was primarily my task. It was almost a solo endeavor, except for the initial setup. I required a second set of hands to align it correctly, and then I was ready to go. Once you begin applying the cork, precision is crucial. It’s best to start from a corner and work your way down the wall.
I utilized a notch trowel to spread the adhesive on the wall, then smoothed the cork over it using a rolling pin. I was quite anxious about air bubbles, but the adhesive performed wonderfully! No bubbles at all.
At the wall’s edge, I employed a sharp utility knife to follow along the wall’s edge. It was so sharp that it cut through the cork—and into my thumb. Thankfully, a quick visit to the emergency clinic resolved it!
To wrap everything up, I painted a corner piece of trim to match the wall and applied a small bead of wood glue to affix it. Since the cork is thin, I simply butted it against my crown molding and baseboards. No one would notice that the top and bottom edges aren’t fully trimmed out, which saved me significant time!
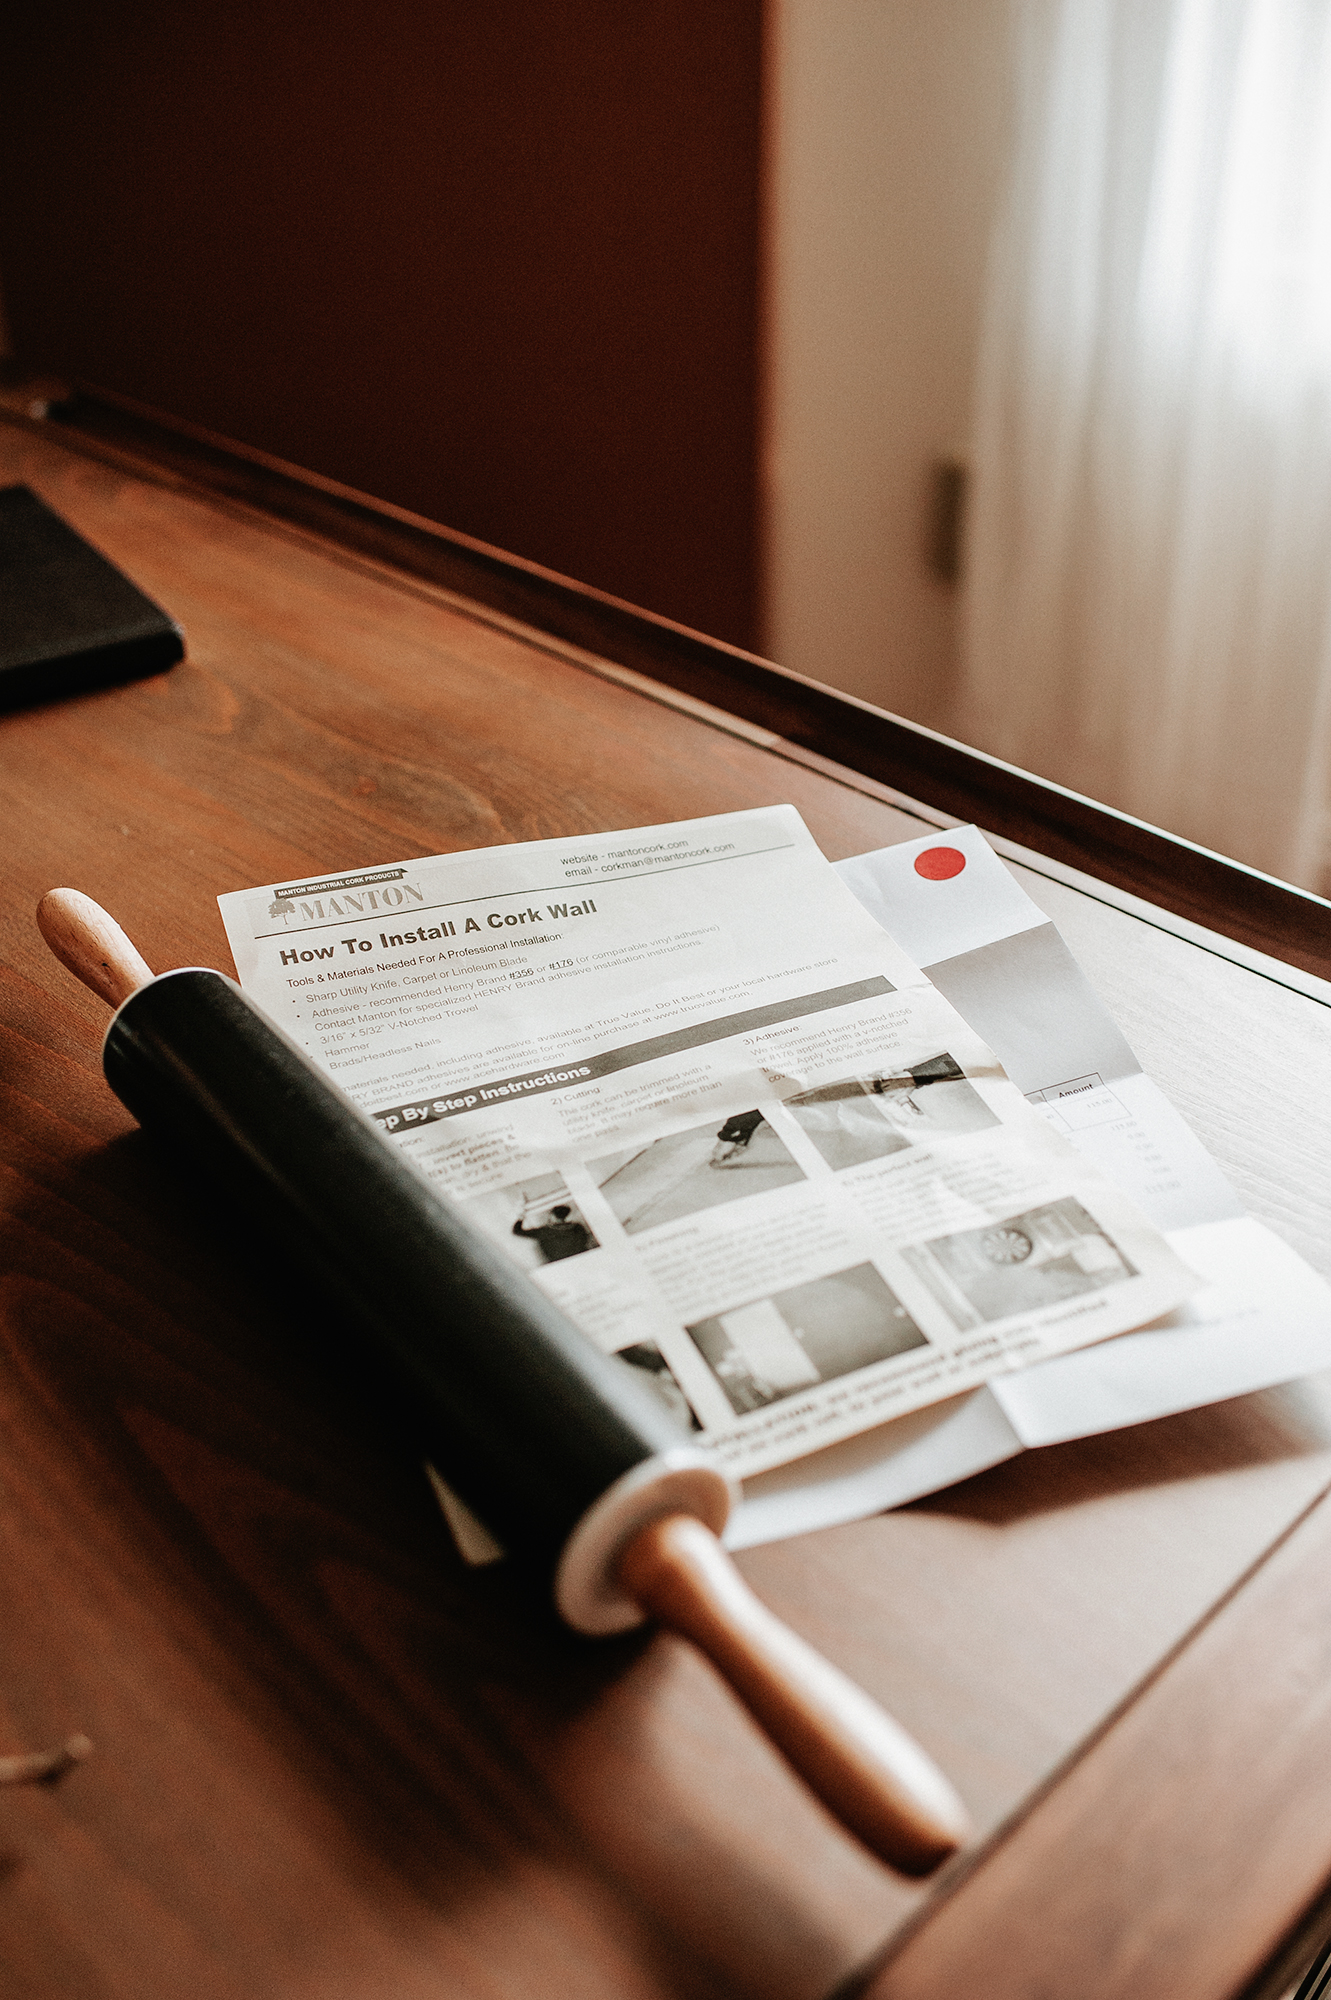
Ready for your list of supplies? It’s concise and straightforward—but it’s crucial to use the right materials.
Corkboard supply list
- Cork. I searched extensively for the perfect roll. There are numerous options available, but I wanted to avoid any seams. Consequently, I spent a bit more. I found cork rolls at Bangor Cork. They offered the best prices and a wide variety! I bought a roll and had it cut to 8 feet, the height of my ceilings. Seriously—it was worth the extra expense for a sleek look!
- Notch trowel. It doesn’t have to be any specific model—just something with teeth to help spread the adhesive on the wall and provide a good surface for the cork.
- Flooring Adhesive. This was the star of the process. It allowed me time to adjust, but once it set, it was immovable! I was relieved because, as I mentioned earlier, I was very concerned that this could go terribly wrong. Cheers to not failing! 😉
- Utility Knife. If you’re aiming to slice your thumb, I might recommend this utility knife? Just kidding—kind of—but this knife is incredibly sharp. It did exactly what I needed!
- Rolling Pin. My old rolling pin was another star. It made smoothing out the cork so much easier.
After all those not-so-great iPhone pictures, here’s a proper one serving as a reminder of the finished corkboard wall.
I truly love it and hope the instructions were straightforward enough! If you’d like to see more of the finished corkboard wall, check this out!
<!–
–>