I set up this corkboard wall in just a few hours, and I’m excited to share the tutorial with you! The most challenging aspect was worrying about whether it would adhere properly to the wall (spoiler alert—it did!). Let’s dive into where it all started.
This wall had shelves for years, but they weren’t serving my needs any longer. I adore travel, and I wanted to display the numerous treasures I’ve gathered over the years. So…the corkboard came into play.
Since you need a robust adhesive for the cork roll, I was hesitant to apply it directly to the wall. We bought some budget-friendly plywood, cut it to fit the wall, and secured it with screws. Remember to create openings for any outlets you might have on the wall too!
This is where my husband stepped out, and I took over. The corkboard installation was my task. It was predominantly a one-person job aside from the initial setup. I needed another set of hands to help align it properly, and then I was ready to roll. Once you begin placing the cork on the roll, there’s no room for mistakes. So, start in a corner and work your way down along the wall.
I utilized a notch trowel to spread the adhesive on the wall, then smoothed the cork over it with a rolling pin. I was anxious about air bubbles, but the adhesive performed brilliantly! No bubbles at all.
Upon reaching the wall’s edge, I used a sharp utility knife to trim along the edge of the wall. It was so sharp that it went right through the cork and nicked my thumb. Just a quick visit to the emergency clinic sorted that out!
To wrap things up, I painted a corner trim piece to match the wall and adhered it with a tiny bead of wood glue. Since the cork is thin enough, I simply butted it against my crown molding and baseboards. No one would ever guess it isn’t trimmed on the top and bottom edges, saving me a ton of time!
Ready for your supply list? It’s brief and straightforward—but it’s crucial to use the right materials.
Corkboard Supply List
- Cork. I searched high and low for the perfect roll. You could choose from a multitude of variations, but I didn’t want any seams. Thus, I opted to spend a bit more. I found cork rolls at Bangor Cork. They had the best prices and a wide selection! I bought a roll and had it cut to 8 feet—matching the height of my ceilings. Trust me—it was worth the money as it looks so seamless!
- Notch trowel. Nothing specific is necessary—just something teethy to spread the adhesive on the wall and allow the cork to stick properly.
- Flooring Adhesive. This was the highlight of the project. It was forgiving enough to allow for some adjustments, but once it began to set, it was immovable! I was relieved because, as previously mentioned, I was quite worried about this turning out poorly. Hooray for success! 😉
- Utility Knife. If you’re feeling adventurous and want to risk losing a thumb, I recommend this utility knife! Just kidding—kind of—but this knife is exceptionally sharp. It performed exceptionally well!
- Rolling Pin. My trusty old rolling pin was another lifesaver. It made smoothing out the cork so much easier.
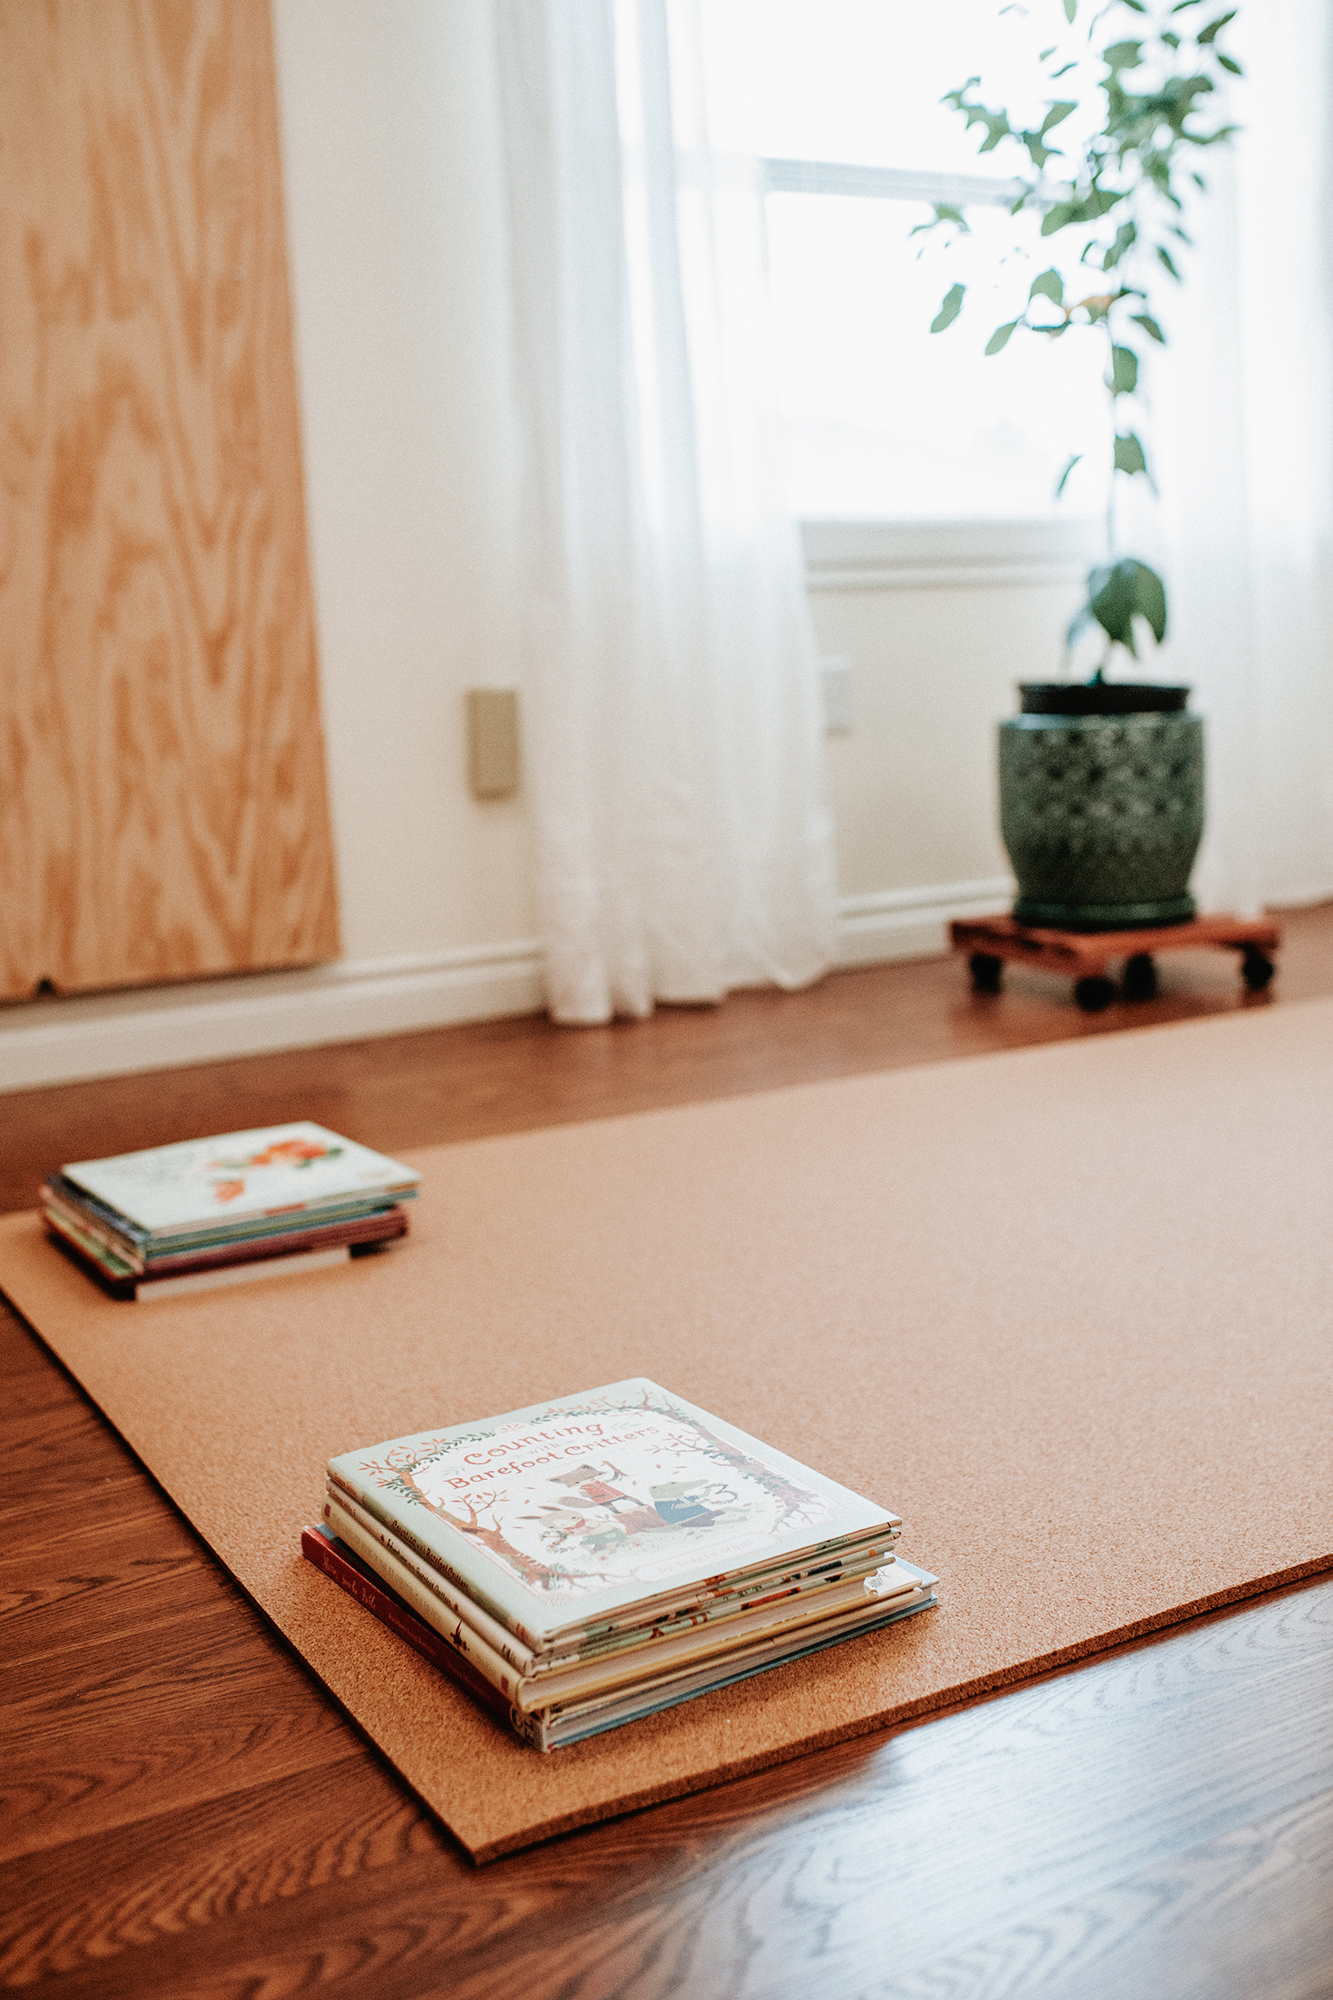
After all those lousy iPhone pictures, here’s a clearer shot to remind you of the completed corkboard wall.
I genuinely love it, and I hope the instructions were straightforward enough! If you’re eager to see more of the finished corkboard wall, click here!
<!–
–>
**Comprehensive Guide to Installing a Corkboard Wall**
A corkboard wall serves as both a functional and aesthetically pleasing addition to any home, office, or educational setting. It offers a flexible space for tacking up notes, images, art, calendars, and much more. Whether your goal is to create an efficient workspace or a creative inspiration board, putting up a corkboard wall is a manageable DIY project. This comprehensive guide will lead you through the steps to successfully install a corkboard wall from beginning to end.
—
### **Materials and Tools Required:**
– Cork rolls or cork tiles (at least 1/4 inch thick for pin depth)
– Measuring tape
– Level
– Pencil
– Utility knife or scissors
– Straight edge or ruler
– Adhesive (construction adhesive or spray adhesive)
– Putty knife or roller
– Paint or wall primer (optional)
– Sandpaper (optional)
– Painter’s tape (optional)
– Backing board (optional, like plywood or foam board for added support)
—
### **Step 1: Select the Appropriate Cork Material**
Cork is available in two primary forms: rolls and tiles.
– **Cork Rolls**: Perfect for covering substantial areas with fewer seams. Usually found in 4’ x 8’ sheets or rolls.
– **Cork Tiles**: More manageable for smaller sections and easier to install. Typically available in sizes of 12” x 12” or 24” x 24”.
Ensure the thickness of the cork is at least 1/4 inch to hold pushpins properly.
—
### **Step 2: Measure and Plan Your Wall**
1. **Measure the Wall Space**: Utilize a measuring tape to figure out the dimensions of the area you wish to cover.
2. **Outline the Area**: Use a pencil and level to outline the corkboard space on the wall. You might find painter’s tape helpful in defining the borders.
3. **Calculate Needed Materials**: Based on your measurements, determine how many cork tiles or how much cork roll you’ll require. Include an additional 10% for trimming and mistakes.
—
### **Step 3: Prepare the Wall Surface**
1. **Clean the Wall**: Wipe the wall down to eliminate dust and debris.
2. **Smoothen the Surface**: If the wall is textured, lightly sand it for better adhesion.
3. **Prime or Paint (Optional)**: If the wall color could show through thin cork, think about applying a neutral paint or primer.
—
### **Step 4: Cut the Cork to Size**
1. **Spread Out the Cork**: Roll out or arrange the cork tiles on a flat surface.
2. **Measure and Mark**: Use a ruler and pencil to indicate where you need to cut.
3. **Cut with Care**: Employ a utility knife and straight edge to achieve clean cuts.
Tip: Allow cork rolls to lie flat for several hours or overnight to minimize curling.
—
### **Step 5: Apply Adhesive**
1. **Select the Correct Adhesive**:
– **Spray Adhesive**: Provides even coverage but may need ventilation.
– **Construction Adhesive**: More robust and preferable for long-lasting durability.
2. **Application on Wall and Cork**: Follow the manufacturer’s guidelines. Apply adhesive on both the wall and the back of the cork for a stronger bond.
3. **Work in Small Sections**: Apply adhesive to manageable sections to prevent it from drying out before placement.
—
### **Step 6: Affix the Cork to the Wall**
1. **Align the Cork Carefully**: Start at the top corner and make sure the cork aligns with your marked lines.
2. **Press Down Firmly**: Use a roller or putty knife to press the cork against the wall, smoothing out any air bubbles.
3. **Continue the Installation**: If using tiles, fit them tightly together with no gaps. For rolls, ensure the seams are properly aligned and secured.
Tip: Hold the cork in place with painter’s tape while the adhesive sets, if necessary.
—
### **Step 7: Trim and Finish Up**
1. **Trim Any Excess Cork**: Use a utility knife to cut off any excess edges.
2. **Seal the Edges (Optional)**: Add trim or molding for a polished appearance and to protect the edges.
3. **Allow the Adhesive to Cure**: Wait 24–48 hours for the adhesive to set before using the corkboard.
—
### **Step 8: Personalize and Use**
With your corkboard wall installed, it’s time to make it your own! Use pushpins to display:
– Calendars and schedules
– Motivational quotes
– Pictures and artwork
– To-do lists and reminders
You can also paint or stencil designs directly onto the cork for a unique touch.
—
### **Maintenance Recommendations**
– **Dust Regularly**: Keep the surface clean with a soft cloth or duster.