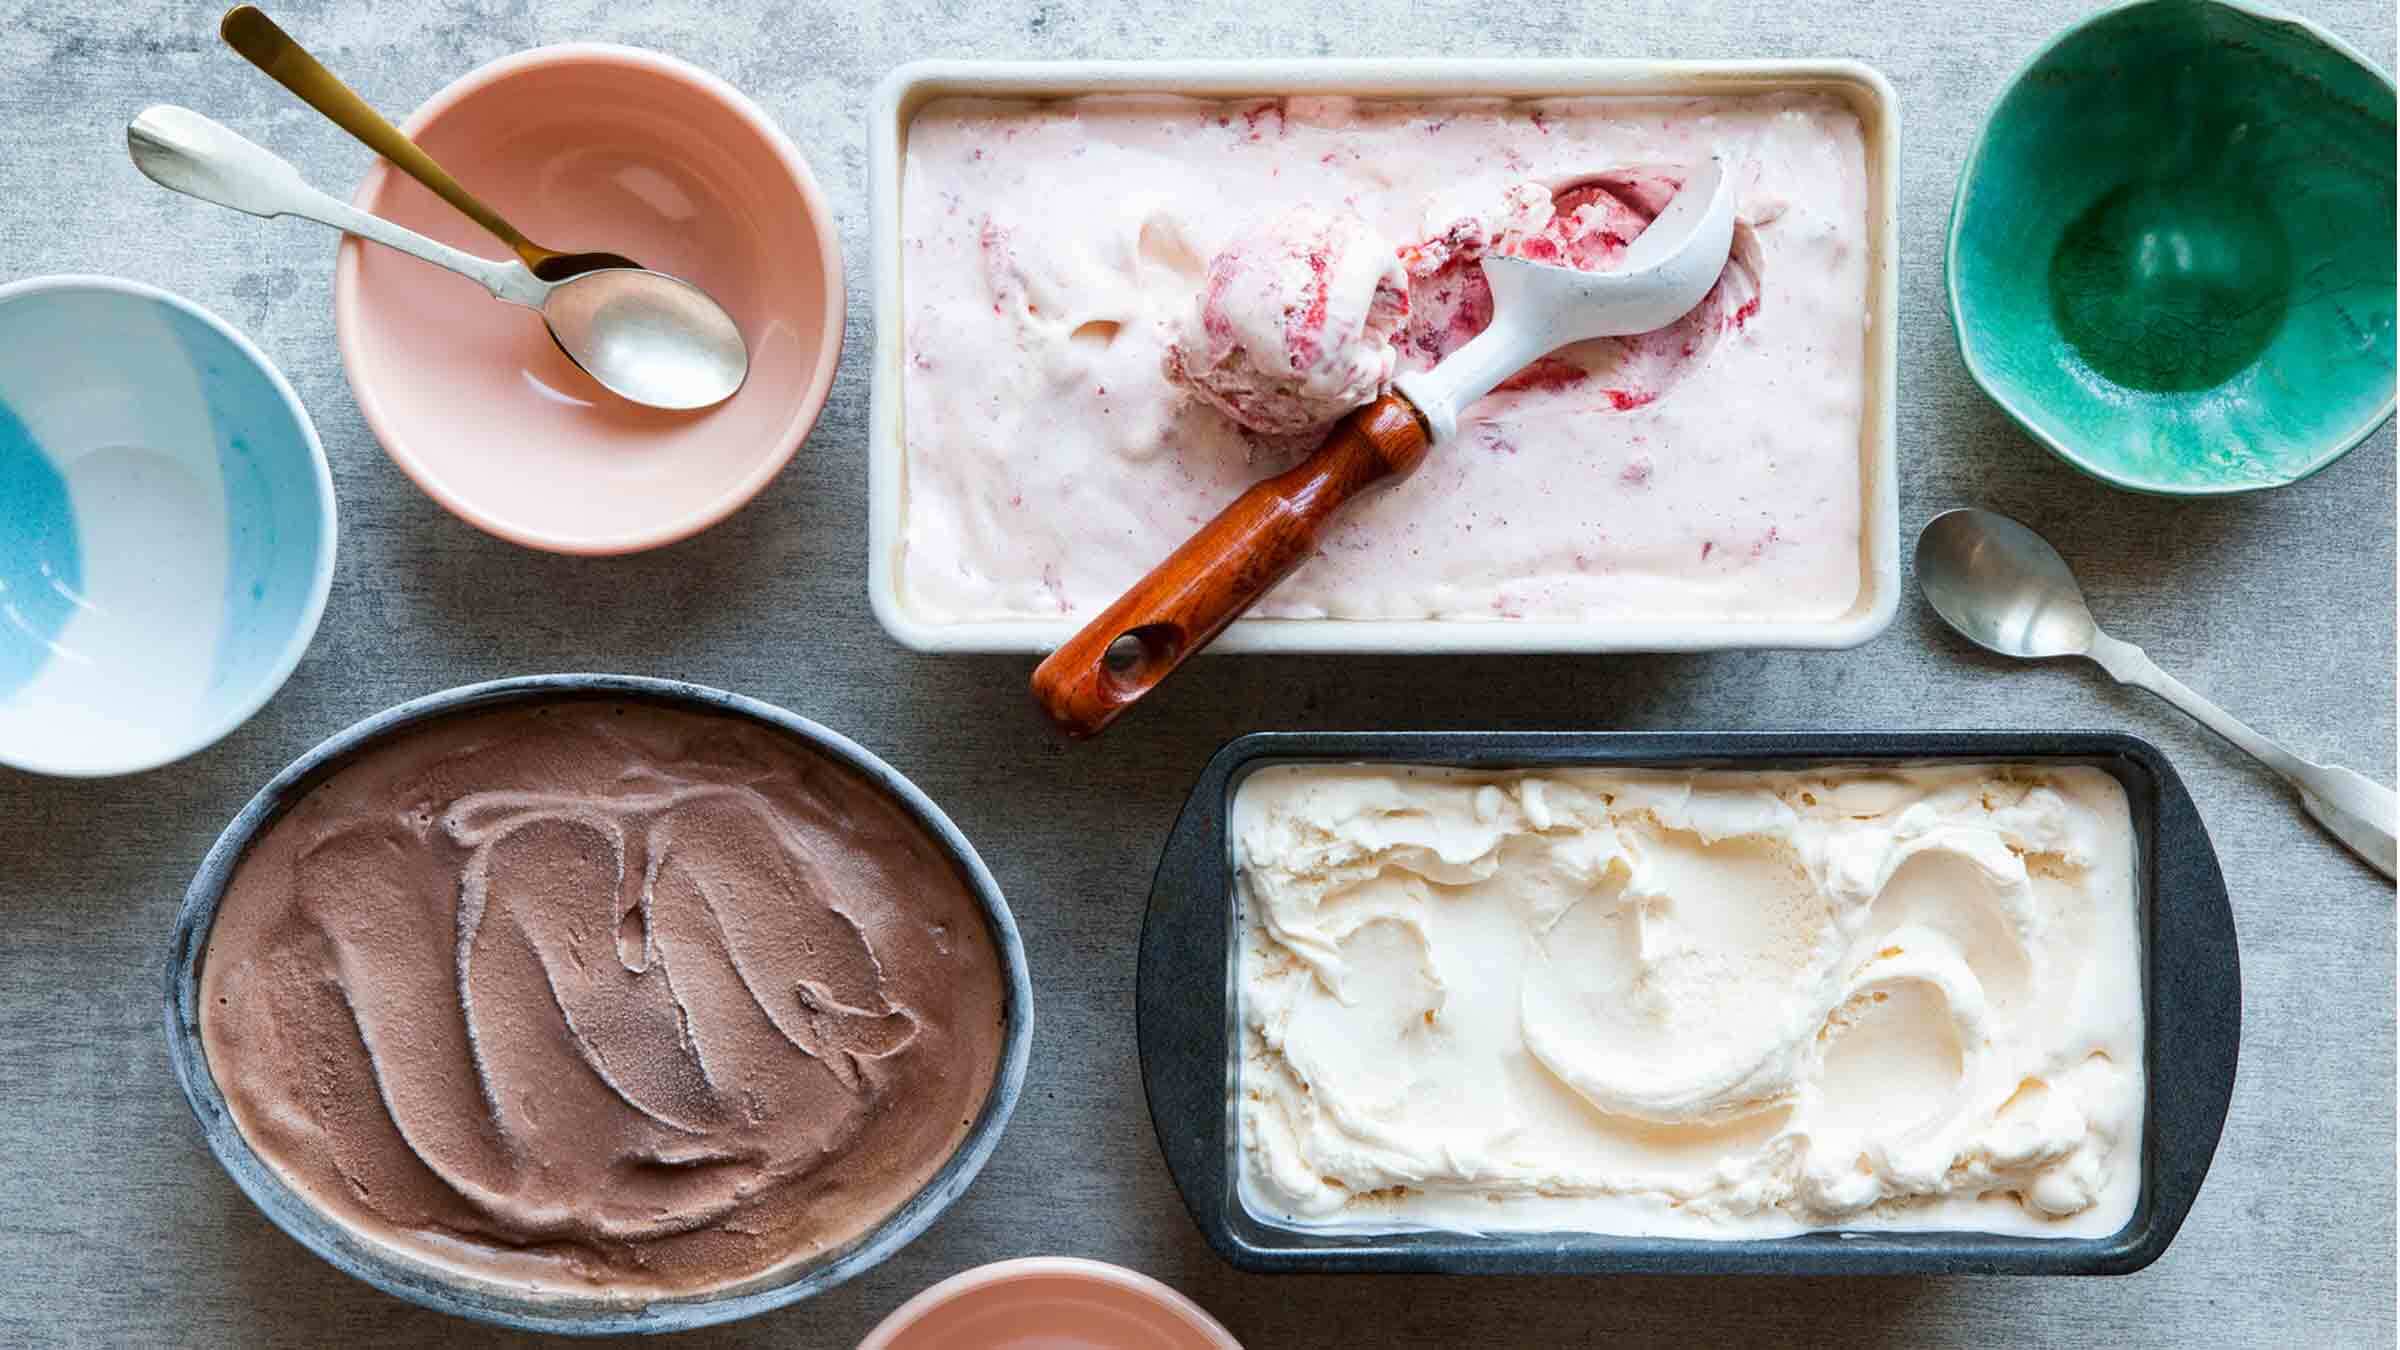
There truly is nothing quite as refreshing and tasty as ice cream made at home. I can’t count the number of times I’ve nearly purchased an ice cream maker. However, I’ve always hesitated at the last moment, realizing that I’ll never remember to put that churning bowl in the freezer a full day beforehand. And I don’t know about you, but when I crave ice cream, I really don’t want to wait a day and a half.
Fortunately, this no-churn recipe — which I stumbled upon one very late, extremely warm evening last summer — requires just about 20 minutes and needs only a food processor (or robust blender). I refer to this as “lazy ice cream” since it typically turns out more like a super soft soft-serve rather than the traditional, scoopable version you’d find in a store. Yet, there is absolutely nothing lackluster about its flavor. I’ve whipped up lazy ice cream even when there’s store-bought ice cream in the freezer — it’s just that good.
Lazy Ice Cream
Makes approximately 3 cups
1½-2 cups frozen fruit, such as raspberries, blueberries or mango
1 14-ounce can of sweetened condensed milk (you’ll only utilize about half)
½-1 cup heavy cream
Gather your ingredients and prepare the food processor. If you happen to recall, pop the cream in the freezer while you’re setting up the processor. This isn’t essential, but having really cold cream can help.
Add your fruit to the processor and promptly drizzle the condensed milk over it, beginning with a few tablespoons. Pour in the cream, starting with half a cup. Now pulse! The blend will come together fairly quickly, so keep an eye on it. Just as it becomes uniform, stop for a taste. Does it require more cream? Toss in another quarter cup. Does it need more sweetness? Add another spoonful of condensed milk. Pulse again until everything is just combined, then taste and tweak as necessary. You can repeat this once or twice, adding up to a cup of cream and about half a can of condensed milk. If you exceed this, you’ll end up with a very cold and delicious pudding — which is fine, just not ice cream.
Serve it right away, and if there are any leftovers, store them in a rectangular container in the freezer. If you somehow leave any overnight, it will indeed be scoopable the following day!
Note: From my experience, this works best with frozen raspberries, blackberries, or mango — but adjust based on what you have. The trick is to start by adding all the fruit, then incorporating a little cream and condensed milk at a time.
Do you have a simple-yet-delicious recipe I can include in my collection? Extra points if it’s a chilled one!
P.S. An elegant cantaloupe lemonade that takes five minutes, a three-ingredient tomato sandwich, and our vanilla ice cream taste test.
**Effortless Homemade Ice Cream: A Simple Sweet Indulgence**
Ice cream is a cherished dessert enjoyed by individuals of all ages globally. While pre-packaged varieties offer convenience, there’s something unique about crafting your own homemade ice cream. Using the right methods and ingredients, making ice cream at home can be both simple and gratifying. Here’s how you can create a delectable batch of homemade ice cream with minimal effort.
**Ingredients and Equipment**
To create effortless homemade ice cream, you’ll need a few essential ingredients and tools:
– **Heavy Cream**: Ensures richness and a smooth texture.
– **Sweetened Condensed Milk**: Serves as a sweetener and contributes to a creamy consistency.
– **Vanilla Extract**: Enhances flavor; you can also try other extracts or flavorings.
– **Mix-ins**: Chocolate chips, fruit, nuts, or cookie bits for added crunch and flavor.
– **A Mixing Bowl and Whisk or Electric Mixer**: For blending the ingredients.
– **A Freezer-Safe Container**: To store and freeze the ice cream.
**Basic No-Churn Ice Cream Recipe**
1. **Combine Ingredients**: In a mixing bowl, vigorously whisk together 2 cups of heavy cream and 1 teaspoon of vanilla extract until soft peaks form. This can be accomplished by hand or with an electric mixer for quicker results.
2. **Add Sweetened Condensed Milk**: Gradually fold in one 14-ounce can of sweetened condensed milk. Be cautious not to deflate the whipped cream excessively.
3. **Incorporate Mix-ins**: Gently fold in your preferred mix-ins. Common choices include chocolate chips, crushed cookies, or fresh fruit.
4. **Freeze**: Transfer the mixture into a freezer-safe container. Smooth over the top with a spatula, cover, and freeze for a minimum of 4-6 hours, or until solid.
5. **Serve**: After freezing, scoop and serve your homemade ice cream. Enjoy it as is, or adorn it with additional sauces or sprinkles.
**Tips for Success**
– **Chill Your Equipment**: For optimal results, chill your mixing bowl and whisk or beaters in the freezer for around 15 minutes prior to use. This facilitates more efficient whipping of the cream.
– **Experiment with Flavors**: Beyond vanilla, consider adding cocoa powder for chocolate ice cream, or infusing the cream with coffee for a mocha version. The options are limitless.
– **Layering**: For a marbled appearance, layer different flavors or colors of ice cream in the container and swirl with a knife before freezing.
– **Storage**: Homemade ice cream is best consumed within a week for optimal texture and taste. Store it in an airtight container to prevent ice crystals from forming.
**Conclusion**
Crafting homemade ice cream doesn’t have to be a complex endeavor. With a straightforward no-churn method, you can relish a creamy, delightful treat without needing an ice cream maker. By utilizing basic ingredients and adding your favored flavors and mix-ins, you can create a personalized dessert that fulfills your cravings. Whether for a special occasion or simply as a fun culinary project, effortless homemade ice cream is an enjoyable way to savor a classic indulgence.


