This post title comes from a once-active blogger. Haha? Apologies. I took a little hiatus from blogging, but I’ve got what I believe is a pretty great tutorial for you! Who wouldn’t appreciate some outdoor lights, right?
After years of procrastination, we finally set up some outdoor lighting on our deck, and it’s absolutely amazing. Not to mention, it’s quite simple and fairly affordable to accomplish! That’s why I’m here—to share my outdoor lighting techniques with you.
Required Supplies:
- A deck. This can be a patio or porch? A floor with one wall?
- String lights. I recommend choosing something durable for better longevity.
- Fence posts (ours are originally 12 feet, cut down to 9 feet). I couldn’t find the exact one online, but I linked a shorter version of what we got.
- Small carabiners for each attachment point on the house.
- Eye hooks to drill into the wall.
- S hooks for each post.
- Cordless drill.
- Hacksaw (for trimming your fence posts).
- Zip ties (in a style similar to match your posts).
Alright, first things first. You’ll need to determine the arrangement of your lights. Zigzag, square around your area? It’s entirely up to you! I’m sharing some not-so-great photos of the actual materials I used.
There are certainly various methods for securing the lights to the poles, but we chose to drill a small hole and insert an S hook. It appears to be holding well (just remember, there’s a lot of tension once they’re installed), so it seems effective!
After drilling the holes into the poles and inserting the S hooks, we attached them to our deck railing. Since we have metal railings, we couldn’t drill into them directly. So, with a bit of creativity, we decided to zip tie them to the railings using 18-inch heavy-duty ties.
Once we trimmed the ends, they are hardly noticeable on the railing. Definitely worth it, even if they were visible! 🙂
Next, use the eye hooks to drill into your house (it’s not as scary as it sounds!).
Connect the carabiner to the eye hook and then slide the light cord into the carabiner.
I recommend placing the hook fairly high up—around 9 ½ feet. You want some space for the string lights to “swoop,” and to avoid anyone bumping their heads.
Honestly, the most challenging aspect of this entire project is figuring out how to arrange the lights. I only needed to reposition one hook after drilling, and I wasn’t too bothered by it—after all, people shouldn’t be scrutinizing your walls!
Here’s how things progressed from late afternoon to evening and into the night.
Va-Va-VOOM!
I haven’t penned a tutorial in about 712 days, so I apologize if I missed anything! Feel free to check out the video version of this on Instagram; it’s saved in my stories. Best of luck!
<!–
–>
**How to Set Up Outdoor Lighting for Improved Safety and Curb Appeal**
Outdoor lighting is essential in boosting both the security and visual charm of your residence. When installed correctly, lighting can dissuade intruders, avert accidents, and showcase your home’s architectural qualities and landscaping. Whether you are a DIY lover or thinking about hiring a professional, grasping the fundamentals of outdoor lighting installation will assist you in making well-informed choices. This guide outlines the primary steps and considerations for setting up outdoor lighting to enhance safety and curb appeal.
—
### Step 1: Design Your Outdoor Lighting Layout
**Evaluate Your Requirements**
Begin by strolling around your property during the night to pinpoint dark spots and potential hazards like steps, pathways, or uneven terrain. Reflect on these lighting objectives:
– **Safety**: Brighten walkways, steps, driveways, and access points.
– **Security**: Illuminate dim corners and entryways to discourage intruders.
– **Aesthetics**: Accentuate landscaping, architectural features, and focal points.
**Draft a Lighting Plan**
Sketch a basic layout of your property and indicate where you intend to install lights. Include:
– Path lights along pathways
– Floodlights near driveways and backyards
– Wall lights by entrances and garages
– Spotlights for trees or architectural details
– Deck or step lights for changes in elevation
—
### Step 2: Select the Correct Fixtures and Bulbs
**Types of Outdoor Lighting Fixtures**
– **Path Lights**: Low-positioned lights that border pathways and garden trails.
– **Floodlights**: High-output lights for extensive coverage, perfect for driveways and side yards.
– **Wall Lights**: Mounted on exterior walls adjacent to entrances and garages.
– **Spotlights**: Concentrated beams directed at specific features.
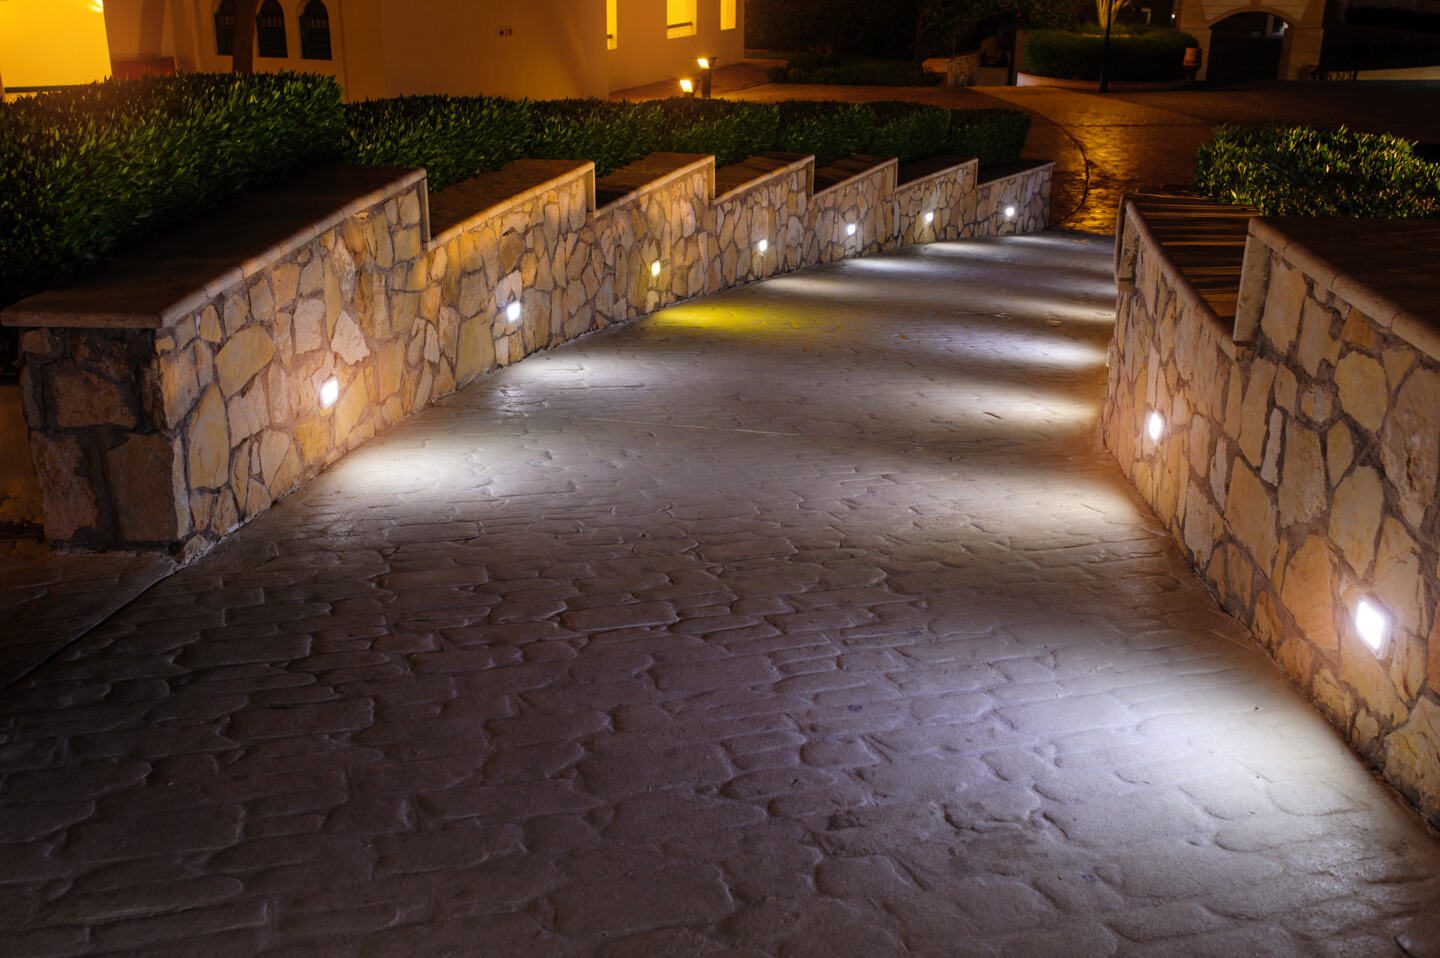
– **Deck and Step Lights**: Incorporated in or near stairs and decks for safety.
**Lighting Technology Options**
– **LED**: Energy-efficient, long-lasting, and available in various brightness levels.
– **Solar**: Simple to set up, but reliant on sunlight and typically dimmer than wired alternatives.
– **Low Voltage (12V)**: Safe and energy-efficient, perfect for DIY setup.
– **Line Voltage (120V)**: Brighter and suitable for expansive areas but necessitates professional installation.
—
### Step 3: Assemble Tools and Materials
Depending on your chosen lighting style, you might require:
– Outdoor-rated fixtures
– Transformer (for low-voltage systems)
– Low-voltage wire
– Wire connectors
– Power drill and screwdriver
– Shovel or trenching device (for burying cables)
– Voltage tester (for safety)
—
### Step 4: Implement the Lighting System
**Low-Voltage Lighting Installation (DIY-Friendly)**
1. **Install the Transformer**: Secure it near an outdoor GFCI outlet, either on a wall or post.
2. **Position the Cable**: Lay the low-voltage cable along your designated route, leaving extra at each fixture location.
3. **Attach the Fixtures**: Utilize quick-connectors or wire nuts to link the fixtures to the cable.
4. **Bury the Cable**: Dig a shallow trench (3–6 inches) and cover the cable to safeguard it from damage.
5. **Test the System**: Plug in the transformer and check each light to confirm proper functioning.
**Solar Lighting Installation**
1. **Position the Lights**: Set the lights in spots that receive plenty of sunlight during the day.
2. **Secure the Fixtures**: Insert the stakes into the ground or mount the lights as required.
3. **Allow for Charging Time**: Let the solar panels charge for a complete day before expecting maximum brightness.
—
### Step 5: Incorporate Smart Features (Optional)
Smart outdoor lighting systems enable remote management, scheduling, and automation through smartphone applications or voice assistants. Consider adding:
– **Motion Sensors**: Turn on lights when movement is detected.
– **Timers**: Automatically switch lights on and off at preset times.
– **Smart Bulbs or Switches**: Integrate with home automation systems for convenience and energy efficiency.
—
### Step 6: Maintain Your Outdoor Lighting
Regular upkeep ensures your lighting system remains functional and appealing:
– Clean fixtures and lenses to eliminate dirt and debris.
– Inspect for frayed wires or burnt-out bulbs and replace them quickly.
– Trim back any foliage that may block light beams.
– Adjust fixture angles as needed to sustain optimal coverage.
—
### Final Thoughts
Installing outdoor lighting is a practical and fulfilling approach to enhancing your home’s safety and curb appeal. With a thoughtful plan, the appropriate materials, and a bit of effort, you can transform your outdoor areas into safe, welcoming, and visually appealing spaces. Whether you choose a DIY low-voltage solution or hire a professional for a more complex installation, outdoor lighting is a valuable investment for your home’s security and aesthetic value.