The initial article title is presented to you by a fading blogger. Haha? Apologies. Took a break from blogging, but I have, in my opinion, a pretty solid tutorial for you! Who doesn’t enjoy some outdoor illumination, right?
After postponing for years, we finally implemented some outdoor lighting on our deck, and it. is. magnificent. Additionally, it’s incredibly simple and quite affordable to accomplish! Hence, that’s why I’m here. To guide you through my outdoor lighting techniques.
Required Supplies:
- A deck. This could be a patio. Or a porch? A surface with one side?
- String lights. I suggest something industrial-grade for greater durability.
- Fence posts (ours are 12 feet, trimmed down to 9 feet) I couldn’t locate the exact model online, but I linked a shorter version of the one we bought.
- Small carabiners for each point you connect to the house
- Eye hooks to screw into the wall
- S hooks for each pole
- Cordless Drill
- Hacksaw (if shortening your fence posts)
- Zip ties (similar type) to correspond with your poles
Alright, first things first. You’ll want to determine the arrangement of your lights. Zigzag, square around your area? It’s your choice! I’m sharing some not-so-great photos of the actual materials I used.
There are certainly various methods to hang the lights on the pole, but we chose to drill a tiny hole and insert the S Hook into it. It appears to stay put (keep in mind, there’s a lot of tension once they’re in place), so I believe it’s effective!
After we drilled the holes in the poles and installed the S Hooks, we secured them to our deck railing. Since we have metal railings, we couldn’t drill anything into them. Again—winging it and hoping for the best—we opted to zip tie them to the railings. We utilized 18-inch industrial ties.
After trimming the ends, you hardly notice them on the railing. Worth it even if you do see them! 🙂
Nexttt, use the eye hooks to drill into your house (sounds scarier than it is!).
Attach the carabiner to the eye hook, then thread the light cord into the carabiner.
I recommend positioning the hook quite high up. I’d say around 9 1/2 feet. You want to leave a little clearance for the string lights to “swoop”, and you don’t want anyone bumping their heads.
Honestly, the toughest aspect of this entire project is determining the light configuration. I only needed to adjust one hook after it was drilled into the wall, and I wasn’t too frustrated about it. People shouldn’t be scrutinizing your house walls anyway!
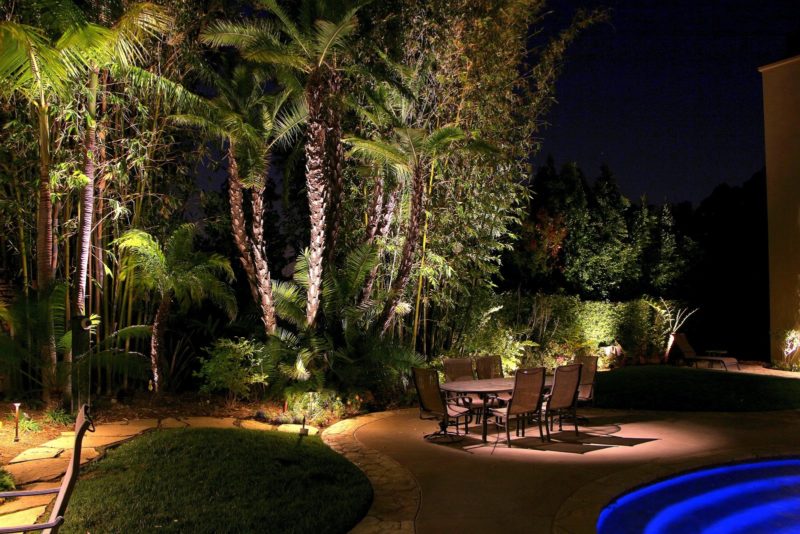
Here you can observe the transition from late afternoon to evening, to nighttime.
Va-Va-VOOM!
I haven’t crafted a tutorial in roughly 712 days, so I apologize if I overlooked something! Feel free to check out the video version of this on Instagram. I’ve preserved it in my stories. Best of luck!