I put up this corkboard wall in just a few hours, so I’m excited to share the tutorial with you! The toughest part was worrying if it would actually stick to the wall (spoiler alert – it did!). Let’s dive into where it all started.
This wall had shelves for years, but they weren’t serving me well anymore. I’m a huge fan of travel, so I wanted to display the various treasures I’ve collected over time. Thus, the corkboard made its way in.
Since you need a strong adhesive for the cork roll, I really wanted to avoid attaching it directly to the wall. We bought some budget-friendly plywood, cut it to match the wall size, and secured it with screws. Remember to cut out any needed openings for outlets too!
This is where my husband bows out, and I take the lead. Setting up the corkboard was my task. It was mainly a solo endeavor except for the initial stage. I needed an extra pair of hands to help align it properly, and then I was off and running. Once you start placing the cork on the roll, there’s no room for mistakes. So start in a corner and follow along the wall.
I utilized a notch trowel to spread the adhesive on the wall and then rolled the cork over it with a rolling pin. I was quite anxious about bubbles, but the adhesive worked wonders! No bubbles at all.
At the wall’s edge, I used a sharp utility knife to carefully trim along the wall’s edge. It was so sharp that it cut right through the cork and my thumb. Nothing a quick visit to the emergency clinic couldn’t fix!
To complete the look, I painted a corner trim piece to match the wall and applied a small amount of wood glue to attach it. Since the cork is thin, I simply placed it up against my crown molding and baseboards. No one would ever guess it isn’t trimmed at the top and bottom edges, which saved me loads of time!
Ready for your list of supplies? It’s brief and straightforward, but it’s crucial to ensure you have the right materials.
Corkboard supply list
- Cork. I searched high and low for the right roll. There are countless variations, but I wanted NO seams. Because of that, I spent a bit more. I discovered cork rolls at Bangor Cork. They had the best prices and loads of options! I bought a roll and had it cut to 8 feet—the height of my ceilings. Honestly, it was worth the extra cost because it looks so professional!
- Notch trowel. No need for anything fancy—just a tool with teeth to spread the adhesive on the wall and give the cork something to adhere to.
- Flooring Adhesive. This was the highlight of the project. It was flexible enough that I could make adjustments, but once it set, it wasn’t going anywhere! I was relieved because, as I mentioned, I was really concerned this would turn out poorly. Yay for success! 😉
- Utility Knife. If you’re considering cutting your thumb, this utility knife might be the one for you? Just kidding—mostly—but this knife is exceptionally sharp. It did exactly what I needed!
- Rolling Pin. My trusty old rolling pin was another hero. It significantly eased the process of smoothing out the cork.
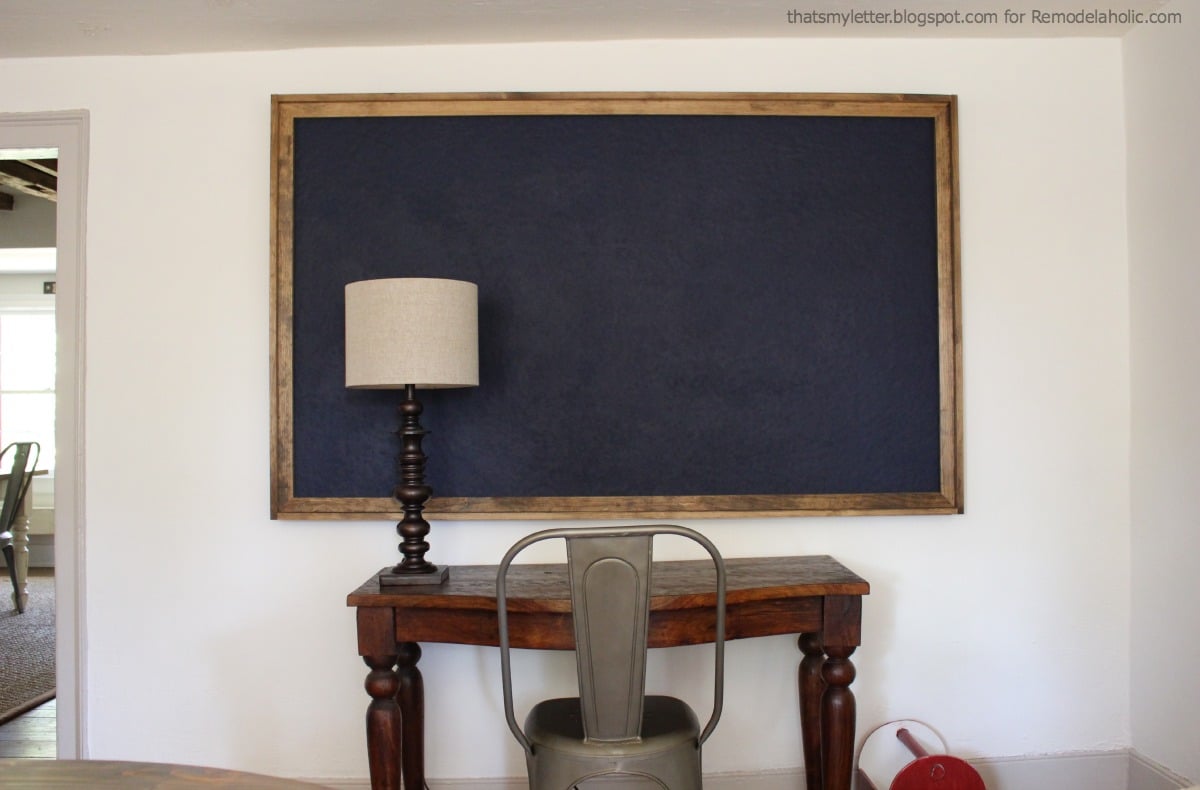
After all those awful iPhone photos, here’s a better view to remind you of the completed corkboard wall.
I truly love it, and I hope the instructions were clear enough! If you’d like to see more of the finished corkboard wall, check this out!
<!–
–>
**Installing a Corkboard Wall: A Comprehensive Guide**
Creating a corkboard wall is an effective and stylish method to organize your area, whether it’s for a home office, classroom, or living space. This guide will lead you through the steps of installing a corkboard wall, ensuring a seamless and successful project.
**Required Materials:**
– Corkboard sheets or rolls
– Measuring tape
– Pencil
– Level
– Utility knife or scissors
– Adhesive (corkboard adhesive or double-sided mounting tape)
– Roller or flat tool for smoothing
– Sandpaper (optional)
– Primer and paint (optional, for wall prep)
**Step 1: Plan and Measure**
Start by identifying the size and placement of your corkboard wall. Use a measuring tape to check the dimensions of the area designated for the corkboard. Outline the boundaries with a pencil. Make sure the wall surface is clear, dry, and smooth. If needed, sand any rough areas or apply primer and paint for wall preparation.
**Step 2: Choose Your Corkboard**
Pick corkboard sheets or rolls that fit your specified area. Corkboard varies in thickness and sizes, so select one that meets your requirements. Thicker corkboard provides better durability and pin-holding capabilities.
**Step 3: Cut the Corkboard**
With a utility knife or scissors, trim the corkboard to match the dimensions of your outlined area. If your corkboard consists of smaller tiles, piece them together to cover the entire wall.
**Step 4: Apply Adhesive**
Spread adhesive on the back of the corkboard. If you’re using corkboard adhesive, adhere to the manufacturer’s guidelines for application. Alternatively, opt for double-sided mounting tape for a non-permanent method. Ensure an even application to avoid bubbles or gaps.
**Step 5: Position and Attach**
Gently place the corkboard on the wall, aligning it with your pencil marks. Use a level to verify it’s straight. Press firmly to attach the corkboard to the wall. For multiple pieces, position them closely to eliminate visible seams.
**Step 6: Smooth the Surface**
Utilize a roller or flat object to smooth out the corkboard, ensuring it adheres evenly with no air bubbles. Begin from the center and move outward.
**Step 7: Finishing Touches**
Check the corkboard for any loose edges or bubbles. If needed, add more adhesive to secure any problematic spots. Trim any excess corkboard with a utility knife for a neat finish.
**Step 8: Decorate and Organize**
Once the corkboard is firmly attached, start pinning notes, photos, calendars, and other items. Consider adding a frame or border for a refined touch.
**Conclusion**
Installing a corkboard wall is an easy DIY project that improves organization and provides a personal flair to any environment. By following these steps, you can create a functional and eye-catching corkboard wall that fulfills your needs.