I put together this corkboard wall in just a few hours, so I’m excited to share the tutorial with you! The most challenging part was simply fretting over whether it would adhere to the wall (spoiler alert—it did!). Let’s explore how it all started.
I’ve had shelves on this wall for ages, but they had lost their usefulness to me. I absolutely adore travel, so I aimed to showcase the many treasures I’ve gathered over the years. Hence, the corkboard made its way in.
Because a strong adhesive is necessary for the cork roll, I was reluctant to apply it directly to the wall. We bought some budget-friendly plywood, trimmed it to fit the wall, and secured it with screws. Remember to create openings for any outlets you may have on the wall as well!
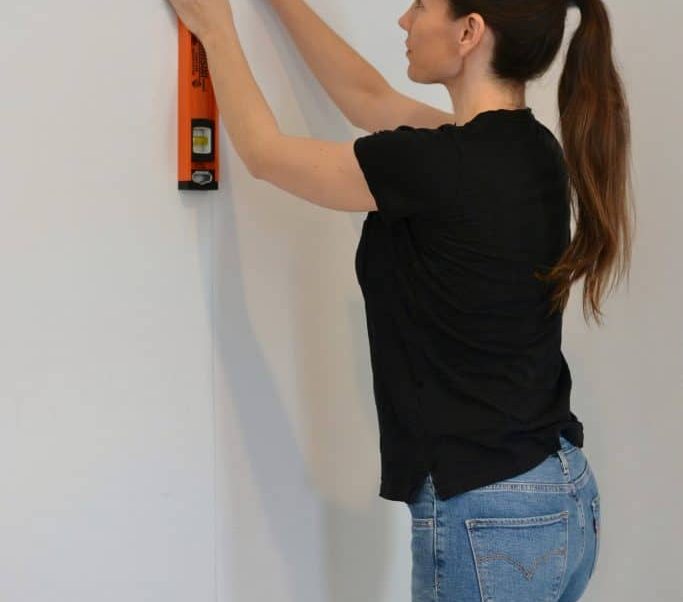
This is where my husband takes a step back, and I take center stage. The task of attaching the corkboard was mine. It was essentially a solo venture except for the very beginning, where I needed an extra pair of hands to help me align it correctly, and then I was off to the races! Once you begin placing the cork on the roll, there’s no room for mistakes. So, make sure to start in a corner and follow the wall downward.
I employed a notch trowel to spread the adhesive on the wall and then rolled the cork over it using a rolling pin. I was quite anxious about bubbles, but the adhesive is incredible! No bubbles at all.
When it came to the wall edge, I used a sharp utility knife to follow the wall’s edge. It was so sharp that it sliced right through the cork and into my thumb. A quick visit to the emergency clinic sorted it out!
To complete the look, I painted a corner piece of trim to match the wall and used a small bead of wood glue to attach it. Since the cork is thin enough, I simply butted it up against my crown molding and baseboards. No one would ever guess it isn’t trimmed at the top and bottom edges, which saved me a lot of time!
Alright. Are you ready for your supply list? It’s brief and straightforward—but it’s crucial to use the appropriate materials.
Corkboard Supply List
- Cork. I searched extensively for the right roll. You could choose from numerous variations, but I wanted NO seams. Because of that, I spent a bit more. I discovered cork rolls at Bangor Cork. They offered the best price and had a vast selection! I purchased a roll and had it cut to 8 feet—the height of my ceilings. Seriously—it was worth the extra expense because it looks so seamless!
- Notch trowel. It doesn’t need to be anything special—just a tool with teeth to spread the adhesive on the wall and give the cork something to adhere to.
- Flooring Adhesive. This was the key player. It was forgiving enough for me to make adjustments, but once it began to set, it wasn’t going anywhere! I was relieved because, as I mentioned earlier, I was really worried this would turn out terribly. Hooray for not failing! 😉
- Utility Knife. If you’re thinking about severing your thumb, might I recommend this utility knife? Kidding—sort of—but this knife is razor sharp. It did exactly what I needed!
- Rolling Pin. My trusty old rolling pin was another star of the show. It made smoothing out the cork so much easier.
After all those terrible iPhone snapshots, here’s a nicer one to remind you of the completed corkboard wall.
I truly love it, and I hope the directions were easy enough to follow! If you want to see more of the finished corkboard wall, go here!
<!–
–>
**Step-by-Step Guide to Installing a Corkboard Wall**
A corkboard wall is an adaptable and practical enhancement to any space, offering an area to pin notes, photos, and reminders. Whether you are setting up a home office, a classroom, or a creative workspace, a corkboard wall can assist you in staying organized and inspired. Here’s a detailed guide to installing your own corkboard wall.
**Materials Needed:**
– Corkboard rolls or tiles
– Measuring tape
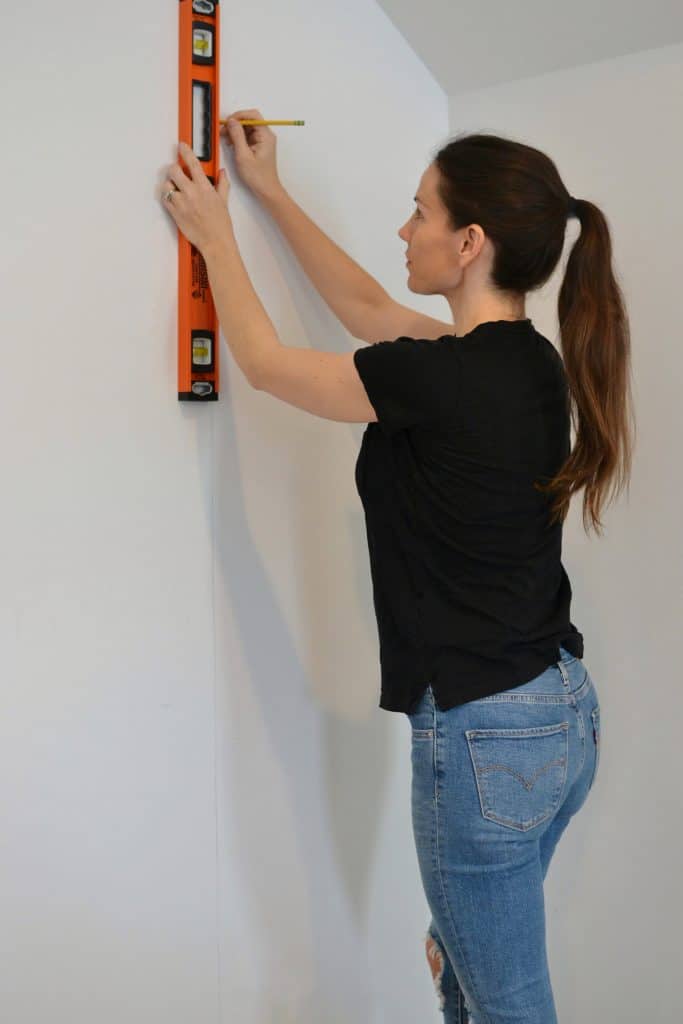
– Pencil
– Level
– Utility knife or scissors
– Adhesive (like contact cement or double-sided tape)
– Roller or flat smoothing tool
– Straight edge or ruler
– Painter’s tape (optional)
**Step 1: Measure the Wall**
Start by measuring the section where you’d like to install the corkboard. Use a measuring tape to identify the height and width of the area. This will help you figure out how much corkboard material you’ll require.
**Step 2: Choose Your Corkboard**
Decide if you want to work with corkboard rolls or tiles. Rolls are perfect for covering larger areas with fewer seams, while tiles may be easier to manage and replace if they get damaged. Buy enough material to fully cover the intended wall space.
**Step 3: Prepare the Wall**
Make sure the wall surface is clean, dry, and smooth. Remove any nails, screws, or debris. If the wall is uneven, you may want to sand it down or apply a primer to create a good surface for adhesion.
**Step 4: Cut the Corkboard**
Using a utility knife or scissors, cut the corkboard to match the dimensions of your wall. If you’re using tiles, you might need to trim some pieces to accommodate edges or corners. Use a straight edge or ruler for accurate, clean cuts.
**Step 5: Plan the Layout**
Before applying the adhesive, plan how you want the corkboard to look. If you’re using tiles, lay them out on the floor to find the best arrangement and fit. For rolls, think about starting from one corner and moving across the wall.
**Step 6: Apply Adhesive**
For rolls, spread contact cement or another strong adhesive on both the wall and the back of the corkboard. For tiles, double-sided tape may be enough. Follow the manufacturer’s directions for the adhesive regarding application and drying times.
**Step 7: Install the Corkboard**
Carefully place the corkboard on the wall, beginning from one corner. Use a level to ensure it is straight. Press firmly to bond the corkboard to the wall, smoothing out any bubbles or wrinkles with a roller or flat tool.
**Step 8: Trim Excess Material**
After the corkboard is set, use a utility knife to trim any excess material at the edges. Ensure precise cuts for a neat finish.
**Step 9: Secure the Edges**
If you wish, apply painter’s tape to hold down the edges while the adhesive sets. This can help prevent the corkboard from lifting or moving out of place.
**Step 10: Final Touches**
Let the adhesive cure completely according to the recommendations from the manufacturer. Once dry, remove any painter’s tape and clean the corkboard surface with a damp cloth to eliminate dust or debris.
**Conclusion**
Installing a corkboard wall is an uncomplicated task that can enhance both the functionality and appearance of your area. By following these steps, you can create a personalized spot that keeps you organized and inspired. Enjoy your new corkboard wall, and start pinning your ideas, notes, and memories today!